Monday, December 30, 2013

Apple Pie: Our Tradition

Growing up, apples were my favorite food.  Instead of a birthday cake, I wanted apple pie.  Not just any apple pie.  I wanted the apple pie my mother would make from a Betty Crocker recipe she saw in the New York Times before I was born.  After I got married, my Mom passed her recipe on to me.  Deirdre and I have a tradition that for New Year's Eve/New Year's Day (and for the record, New Year's Day is our wedding anniversary) we make this simple yet delicious apple pie recipe.  This is a "before" image of the pie, just before I put it in the oven

Apple Pie before going into the oven


APPLE PIE

Ingredients:
3-4 lbs Braeburn or MacIntosh apples, peeled and cut into small pieces
Betty Crocker Pie Crust Mix or Jiffy Pie Crust Mix
Sugar
Cinnamon
Nutmeg

Filling:
1/2 cup sugar
1/2 of remaining pie crust mix
Teaspoon Cinnamon
Dash of nutmeg
Peeled and cut apples

Topping:
1/2 cup sugar
1/2 of the remaining pie crust mix
1/2  teaspoon nutmeg
Dash of cinnamon


Pre-heat your oven to 425F.  The Betty Crocker or the Jiffy mix work well with this recipe.  Follow the directions to make the crust for a single pie crust and reserve the remaining crust mix.  The remaining pie crust mix is an important part of the filling and the topping, so split in half the remaining pie crust mix for the topping and the filling. 

In a large bowl, mix well the filling ingredients.  Pour the filling into the waiting pie crust.  Mix the topping ingredients into the same bowl and sprinkle the topping over the pie filling and place into the pre-heated oven, and bake the pie on the lower rack of your oven.  Check the pie at approximately 35 minutes (normal cooking time is 40-45 minutes).  Cook the pie until you see the apples bubbling.

I prefer to use Braeburn or MacIntosh apples as they bake well.  Avoid using Red Delicious or Granny Smith apples as they tend to be too bitter for a good pie.  I used MacIntosh apples for today's pie.

This is an "after" image of the pie.  I baked it it at 425F for 35 minutes.  Now I just have to let to cool for a while.

Apple Pie after baking for 35 minutes.

Wednesday, December 25, 2013

chicken wings recap

Last night, for Christmas Eve dinner, we made chicken wings.  It was a rocking success and if you read the post below, you can make your own too.  Seriously, the secret is flour, and it lets the sauces adhere nicely to the wings.

First, we steamed the frozen wings for about 20 minutes.  When done steaming, we patted them dry on paper towels.


When cool, put them in a bag with flour, gave them a good shake.


Then back in the bowl for some sauce covering.


Crazy delicious.  And a wonderful tradition of making very untraditional things.   Merry Christmas from our kitchen to yours!

Tuesday, December 24, 2013

Baked Buffalo Style Chicken Wings

There are a lot of recipes out there for making chicken wings.  Most involve deep frying the wings, which can be rather messy.  We stumbled upon this approach to baking the wings and we were very pleased with the end result.  It takes a little time to make this recipe, but it is well worth the effort.

Ingredients:

- 20 chicken wings
- 1/2 cup all purpose flour
- 1/2 teaspoon garlic powder
- 1/2 teaspoon cayenne pepper
- 1/2 cup melted butter
- 1/2 cup hot pepper sauce (Tabasco, Frank's Red Hot, etc.)

Place a 6 quart sauce pan with a steamer basket and 1-2 inches of water on the bottom and over high heat, bring to a boil.  Place the wings in the steamer basket, reduce the heat to medium and steam the wings for 10 minutes.  Remove the wings from the steamer basket and pat dry with a paper towel.

Place the flour, garlic powder and cayenne pepper into a resealable plastic bag and mix.  Place the wings into the bag and toss the wings until they are well coated with the flour mixture.  Place the wings on a plate and refrigerate at least one hour.

Preheat an oven to 425F.  Line a cookie sheet with aluminum foil and spray the foil with cooking spray.

While the oven is heating, whisk the melted butter and hot sauce in a bowl.  Take the wings out of the refrigerator and dip them into the butter sauce and then place the wings on the cookie sheet.

Cook the wings for 40 minutes, and turn the wings after they have cooked for 20 minutes so they cook evenly.

Cook's Notes:

The wings were crispy and delicious.  We think that refrigerating the wings once they have been coated with the flour mixture really helped the wings adhere the butter-hot sauce mix.

We adapted the original recipe a little.  In addition to the butter-hot sauce coating, and we bought a bottle of teriyaki sauce.  We poured a 4 ounces of the teriyaki sauce into a bowl and tossed 10 wings with the flour mixture on them into the sauce to coat the wings.  I think that you could take virtually any wing sauce you like to coat the wings.  

Update 12/24/2013 
We are making these for Christmas Eve dinner and using our favorite Buffalo Wild Wings sauces.  The flour is key! 

Merry Christmas! 

Sunday, December 8, 2013

Tenderloin Deluxe

It's been a while since we have posted ... life is busy and we just haven't gotten around to posting the good things.

Every Christmas, Paul will make Tenderloin Deluxe.  It's one of my favorite recipes.  So we decided to practice last night, just so, you know, we would be prepared for the holiday.

3 lb beef tenderloin roast
2 tablespoons softened butter
1/4 cup chopped scallions
2 tablespoons butter
2 tablespoons soy sauce
1 teaspoon Dijon mustard
Dash of ground black pepper
1 cup cooking sherry

The meat should be left out, covered, at room temperature for 2-3 hours before roasting.

1. Preheat your oven to 400 degrees.
2. Spread the tenderloin with the softened butter. Place the roast in a cast iron skillet and cook uncovered for 20 minutes.
3. While the roast is cooking, saute the scallions in the remaining butter until tender. Add the soy sauce, mustard and pepper. Stir in the sherry and heat until just boiling.
4. After the roast has cooked for 20 minutes, pour the sauce over the roast and cook to desired doneness (125F for rare).
5. Remove the roast at desired doneness and remove it from the oven.  Place the roast on a cutting board and cover loosely with aluminum foil.  Let the roast rest for about 10 minutes it before serving.
6. While the roast is resting, pour the sauce from the cast iron skillet into a small sauce pan.  Keep the sauce warm over low heat.
6. After the roast has rested, carve the roast into 1 inch slices, and spoon the sherry sauce over the meat.

Cook's Notes:
This is an incredibly easy dish to make, but it has an incredibly elegant taste.  The real key to success in the recipe is to not over cook the roast.  Once you use a remote sensing thermometer to cook a roast, you will wonder how you ever cooked without one!

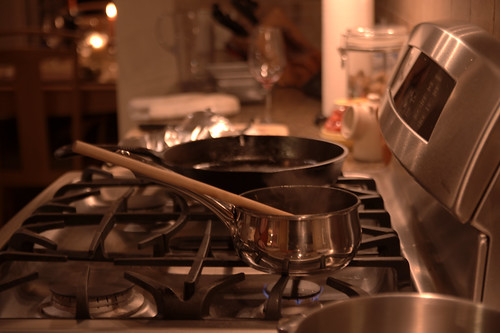
DSC_2522

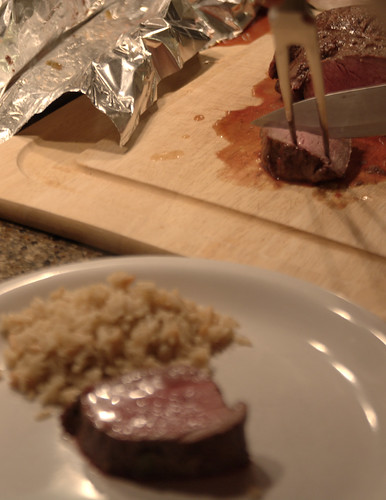
DSC_2528

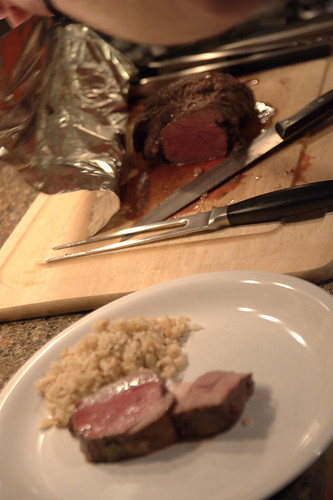
DSC_2529

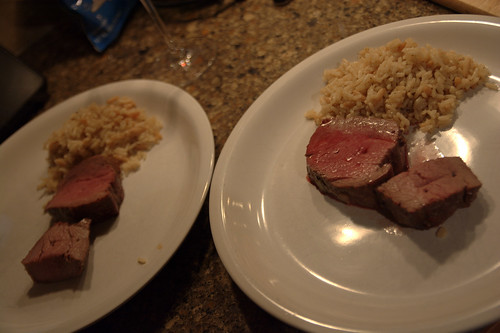
Is it good?  Oh yeah.
DSC_2530